Bake Your Face Like a Pro: Makeup Tips for a Crease-Free Finish
Share
Bake Your Face Like a Pro: Makeup Tips for a Crease-Free Finish
Want that flawless, crease-free finish that stays snatched all day? It’s time to get serious about baking—not in the kitchen, but on your face. If you’re tired of your concealer settling into fine lines or your foundation fading before lunchtime, baking might just be your new best friend. This pro-level technique may sound intimidating, but with the right tools and our Plush Setting Powder, you'll be locked, loaded, and looking like a glam goddess in no time.

1. What Is Baking, Really?
Baking is a makeup technique that involves packing a generous amount of translucent setting powder onto areas where you’ve applied concealer or cream products—typically under the eyes, along the jawline, the T-zone, and under the cheek contour. The powder “bakes” into the skin using your natural body heat, helping to lock everything in place while smoothing texture and brightening the face. The result? A flawless, crease-free, photo-ready finish.
2. Prep Like a Pro
A great bake starts with good prep. Begin with clean, moisturized skin and apply a lightweight primer to smooth out texture. Follow up with your foundation and concealer. Make sure your base is well blended and crease-free before you apply any powder—baking will set things exactly as they are. Pro tip: Use a damp beauty sponge to press your concealer in seamlessly.
3. Choose the Right Powder
The key to a smooth, professional bake is using a high-quality setting powder. Enter: Plush Setting Powder. Ultra-fine, flashback-free, and silky soft, Plush Setting Powder blurs imperfections, absorbs excess oil, and sets your makeup without drying out your skin. Its lightweight formula is perfect for long wear and ideal for all skin types.
4. Tools You’ll Need
To bake like a pro, gather your essentials:
-
A damp beauty sponge (for powder application)
-
A fluffy powder brush (for brushing off excess)
-
A small concealer brush (for detailed blending)
-
Plush Setting Powder (of course!)
Optional: A powder puff for pressing in extra product or cleaning up contour edges.
5. Time to Bake
Dip your damp sponge into Plush Setting Powder and press it firmly into the areas you want to set. Don’t be shy—use a generous amount. Let it sit (aka “bake”) for 5 to 10 minutes. This allows the powder to absorb oils, lock in product, and create that ultra-smooth effect. During this time, feel free to move on to other parts of your makeup, like brows or eyeshadow.
6. Brush It Off—Literally
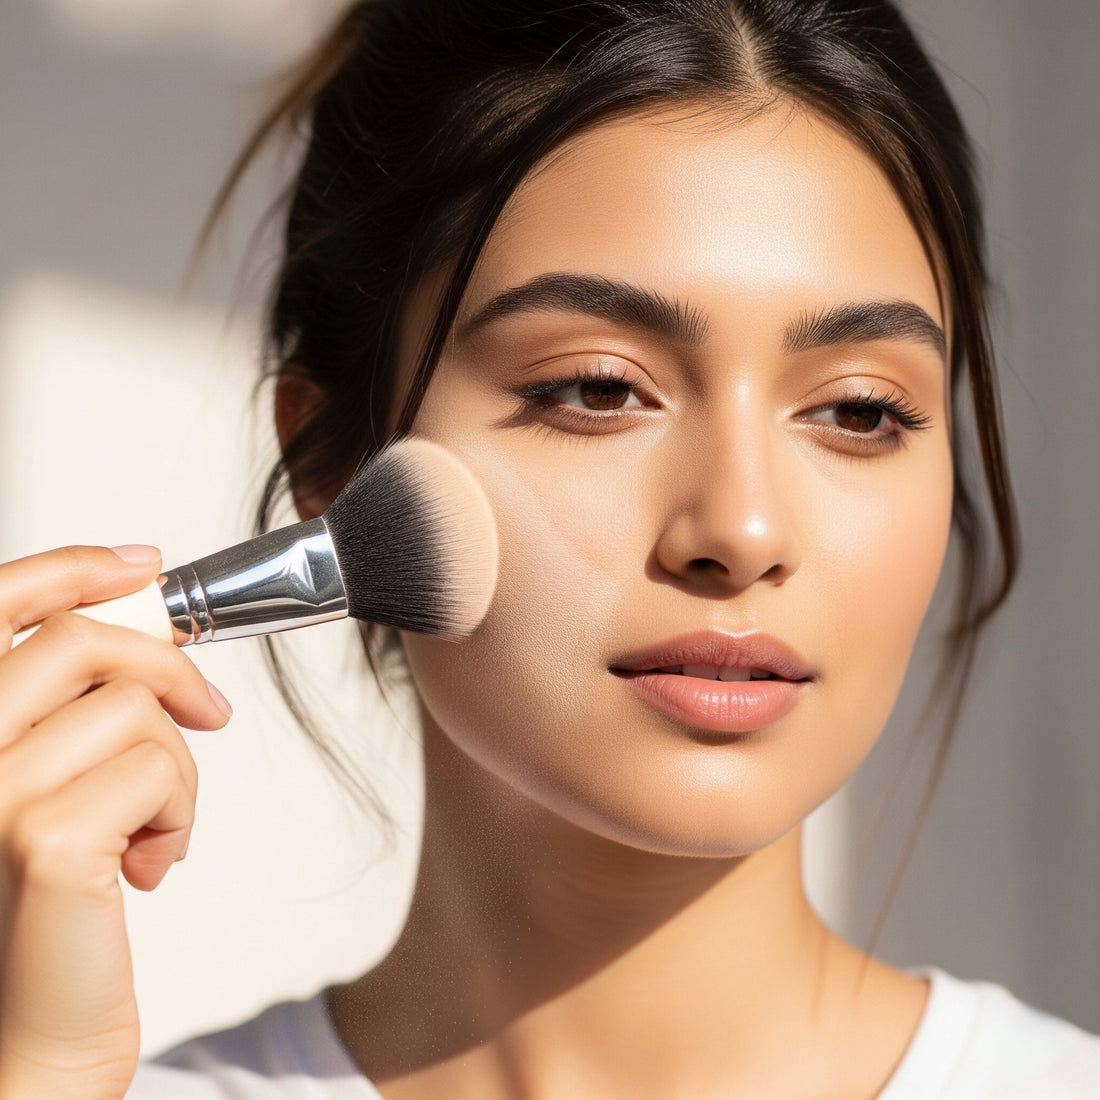
Once your bake has had time to set, use a fluffy powder brush to sweep away the excess powder. Don’t rub—gently dust it off to reveal a perfectly set, crease-resistant finish. You’ll instantly notice a smoother, brighter under-eye and a more sculpted look overall. If you want a little extra glow, follow up with a light touch of highlighter.

7. Bake It 'Til You Make It
Baking isn’t just for the pros—it’s for anyone who wants their makeup to last longer and look better. With the right technique, the right tools, and the magic of Plush Setting Powder, you’ll have everything you need to bake your face like a pro. Whether you're headed to a photo shoot or just want to feel flawless on a regular day, a good bake can take your glam to the next level.
Ready to try it for yourself? Grab your Plush Setting Powder and start baking—your crease-free future awaits.
